BennyS
Member
More
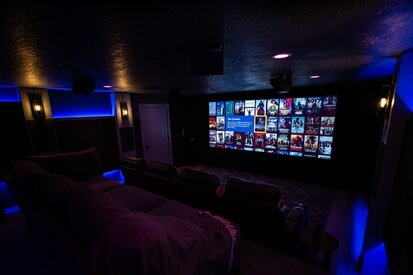
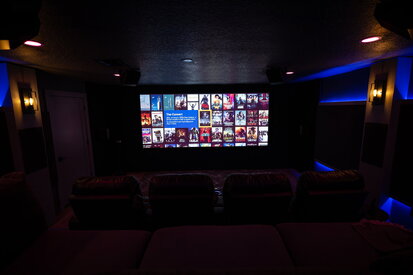
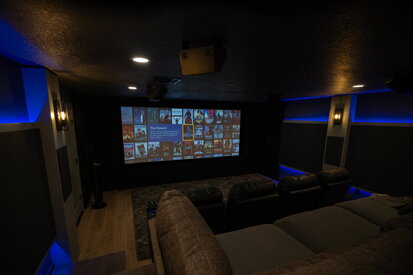
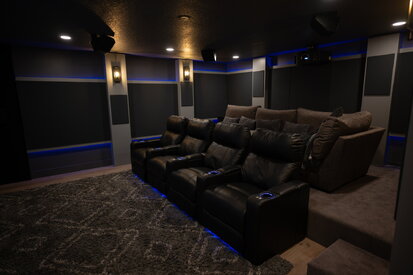
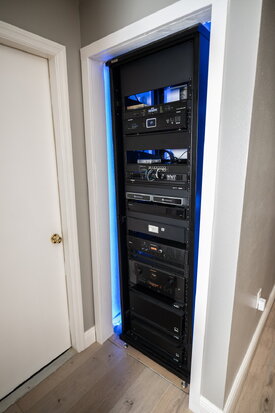
- Preamp, Processor or Receiver
- AV10
- Main Amp
- Buckeye AMP
- Additional Amp
- Buckeye Amp
- Streaming Equipment
- Apple TV, Kaleidescape
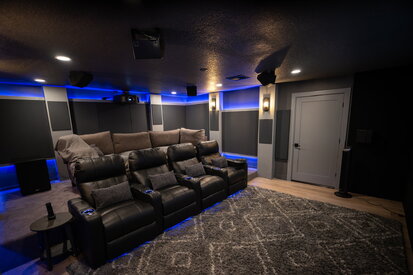
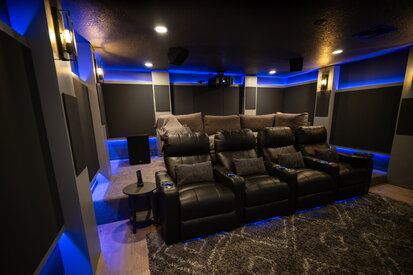
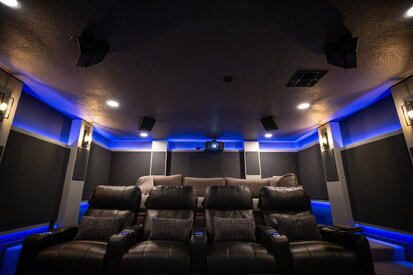
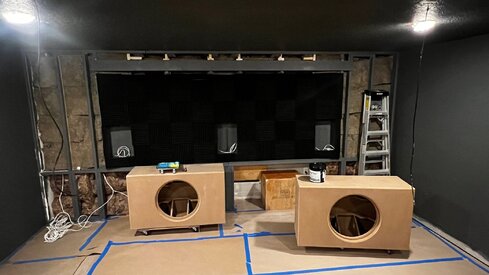
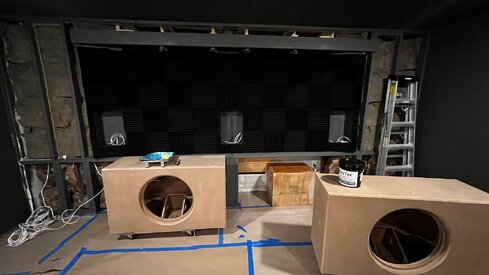
- Front Speakers
- Ascendo 10
- Center Channel Speaker
- Ascendo 10
- Surround Speakers
- Ascendo 10
- Surround Back Speakers
- Ascendo 10
- Front Height Speakers
- Ascendo 6 Wedge
- Rear Height Speakers
- Ascendo 6 Wedge
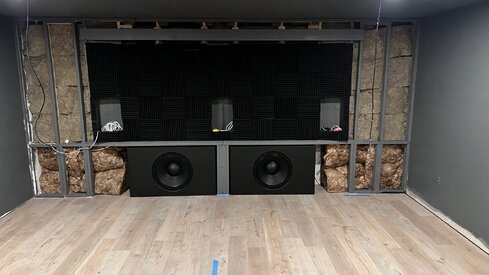
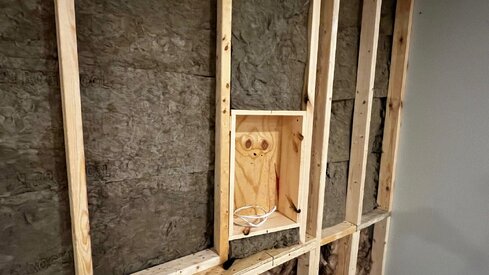
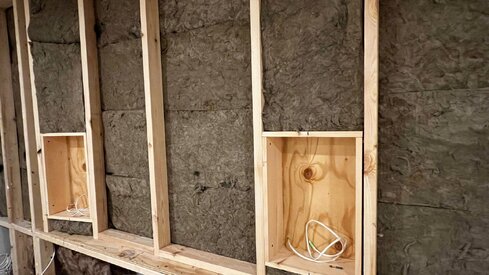
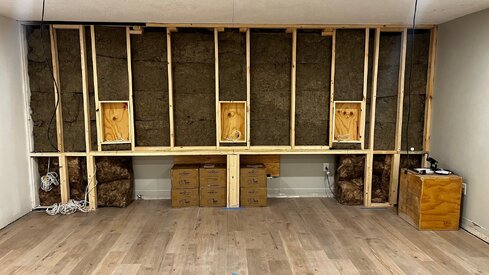
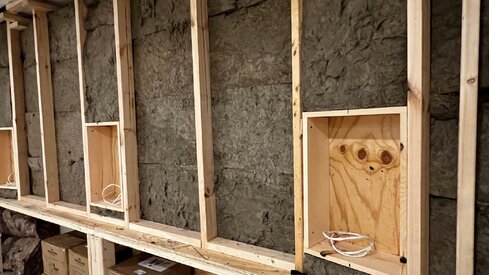
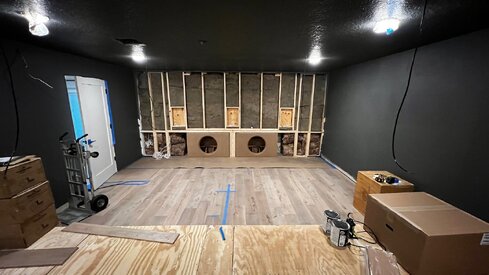
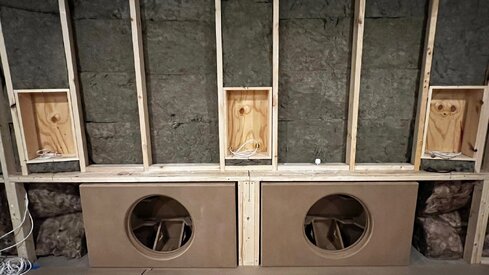
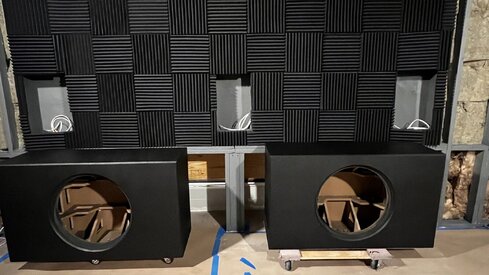
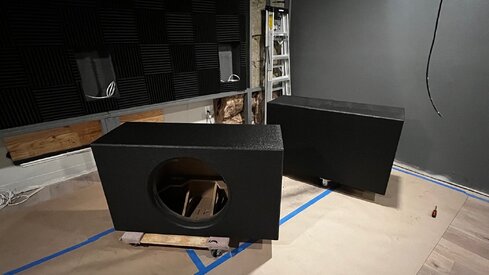
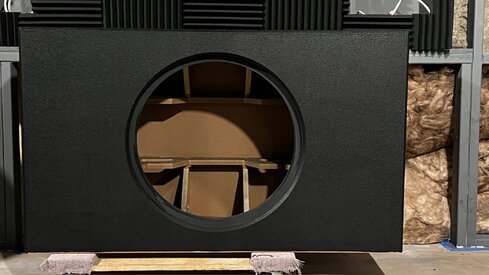
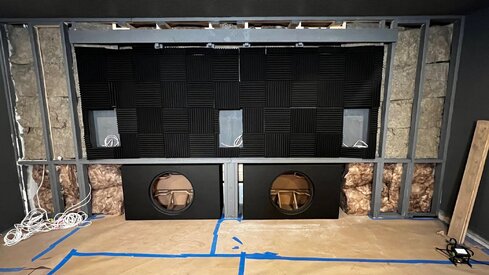
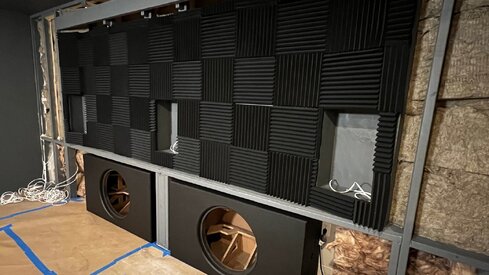
- Subwoofers
- GSG 21"
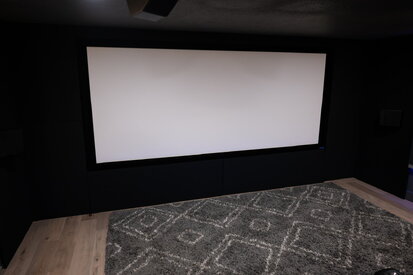
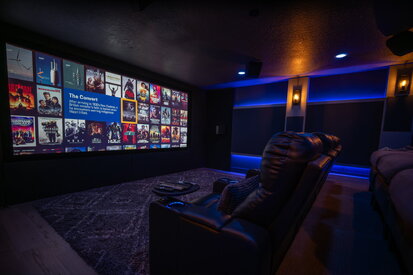
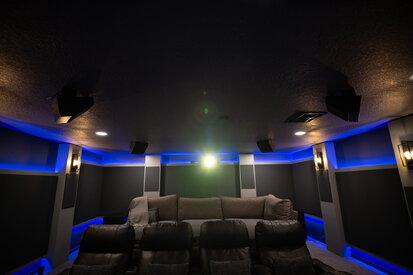
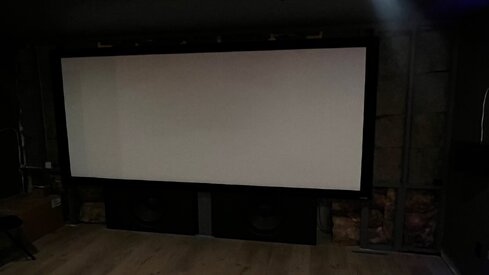
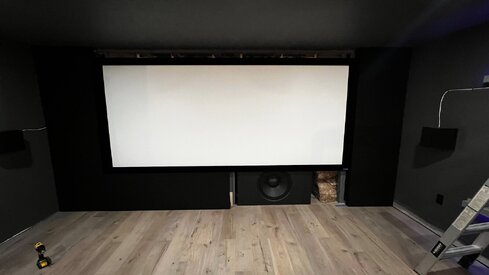
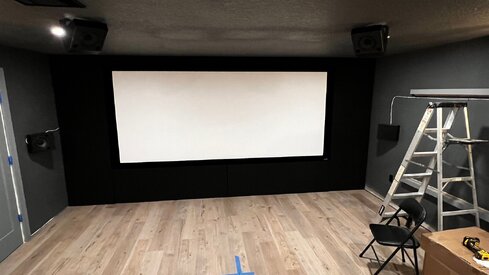
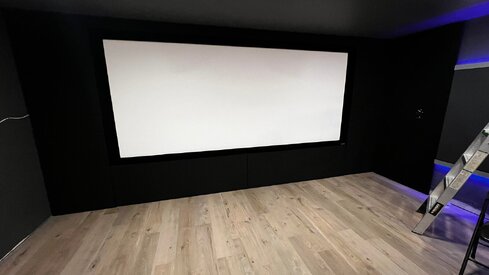
- Screen
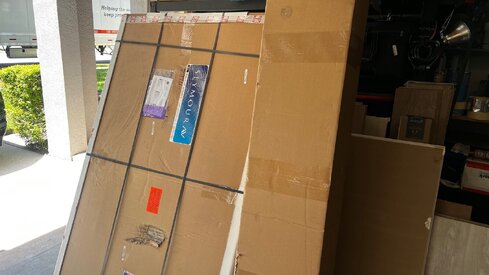
- Seymour AT Screen 150" Auto Masking
- Video Display Device
- NZ8


")