1_sufferin_mind
Active Member
More
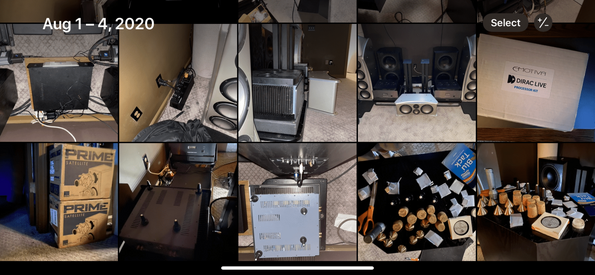
- Preamp, Processor or Receiver
- Emotiva XMC-2
- Main Amp
- Emotiva XPA-5
- Additional Amp
- McCormack DNA-1 Custom Monoblocks (On Standby)
- Other Amp
- Woo Audio WA6se w/ Audeze LCD-2
- Universal / Blu-ray / CD Player
- Oppo BDP-95
- Streaming Subscriptions
- JVC X70R Proj ; PS Audio PWD w/ Streaming Bridge
- Front Speakers
- Revel Ultima Salon
- Center Channel Speaker
- Revel Voice
- Surround Speakers
- PSB Image B5
- Subwoofers
- Seaton Sound Submersive F2+/- pair
- Other Speakers
- Cary SLP98P / VPI SuperScout with JMW9 & Hana MH
- Screen
- TBD
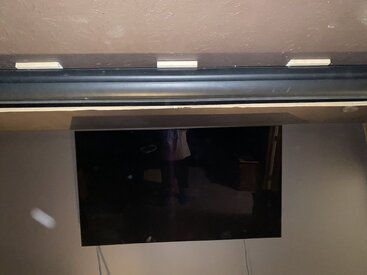
- Video Display Device
- LG 65" OLED 65CX
Many thanks to followers and participants alike; especially those still with me despite my earlier off-topic comments regarding my sister-in-law’s personal situation. I now recognize they were calloused and selfish.
I’ll admit I painted a harsh picture, but in my defense please try to imagine the incredibly intense stress and heart wrenching drama we all went through. My wife honored her sister’s wishes (to the end) not to be put in a home. Their mother moved in with us to help and also insisted on keeping her there. Toward the end—which did not come easy—she was too heavy to move without her cooperation. It got really ugly when we started at each other’s throats.
Long story short?
I was praised for how I brightened her mood, looked after her, and helped with nursing tasks. I can truthfully say there were times when it wasn’t me; it was God working through me.
So please consider my previous harsh words in the context of my incredibly stressful circumstances. My wife gifted me my theater room and budget in advance appreciation of my help and as compensation for not having signed up to move in with relatives.
I love my departed sister-in-law. She loved old-school music-listening in my previous theater, and she wanted me to enjoy my new one. I now continue unashamed and unapologetic in her honor on my mission to create the best theater I can with what I have (and with what I‘m willing to buy on credit).


")